creo paper profile
TRANSCRIPT
Creating a paper profile (destination profile)
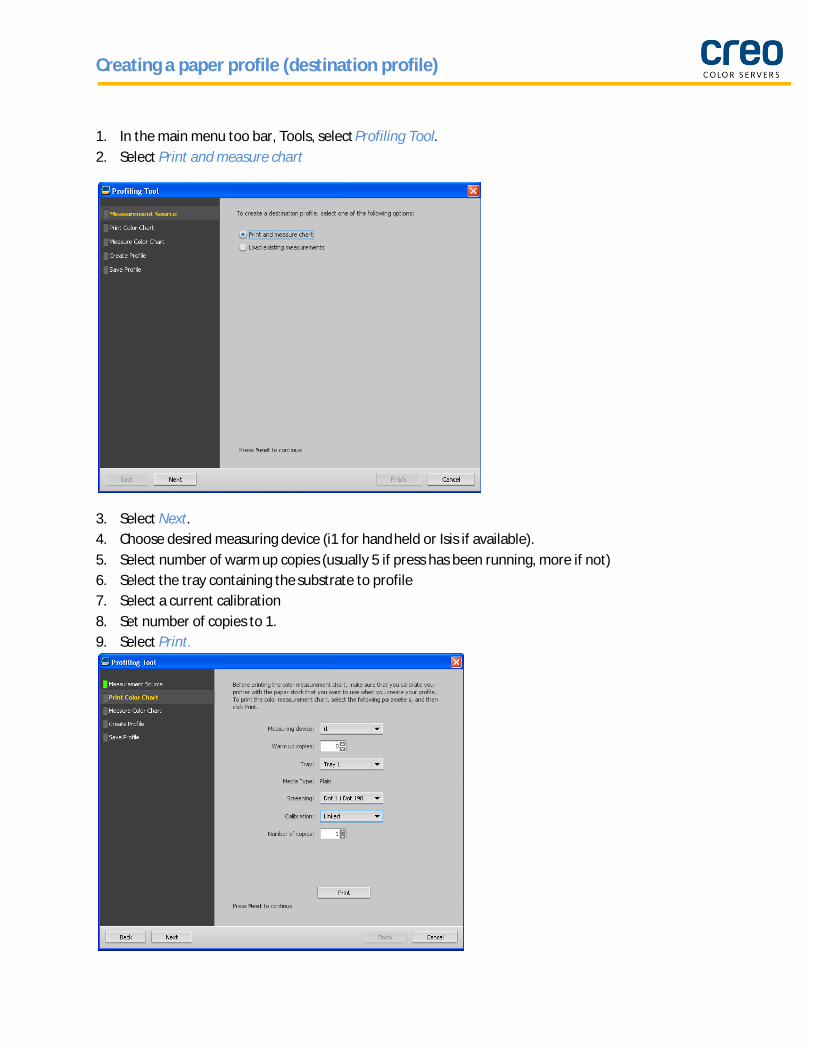
1. In the main menu too bar, Tools, select Profiling Tool.2. Select Print and measure chart
3. Select Next.4. Choose desired measuring device (i1 for handheld or Isis if available).5. Select number of warm up copies (usually 5 if press has been running, more if not)6. Select the tray containing the substrate to profile7. Select a current calibration8. Set number of copies to 1.9. Select Print.
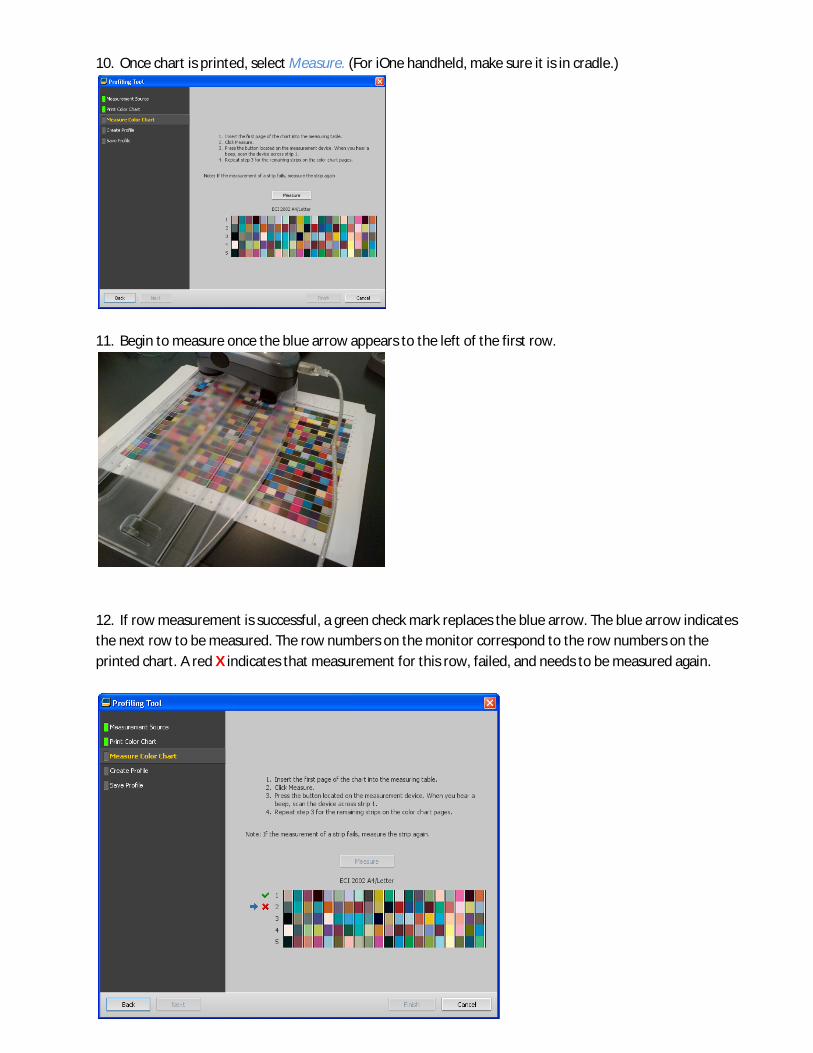
10. Once chart is printed, select Measure. (For iOne handheld, make sure it is in cradle.)
11. Begin to measure once the blue arrow appears to the left of the first row.
12. If row measurement is successful, a green check mark replaces the blue arrow. The blue arrow indicates the next row to be measured. The row numbers on the monitor correspond to the row numbers on the printed chart. A red X indicates that measurement for this row, failed, and needs to be measured again.
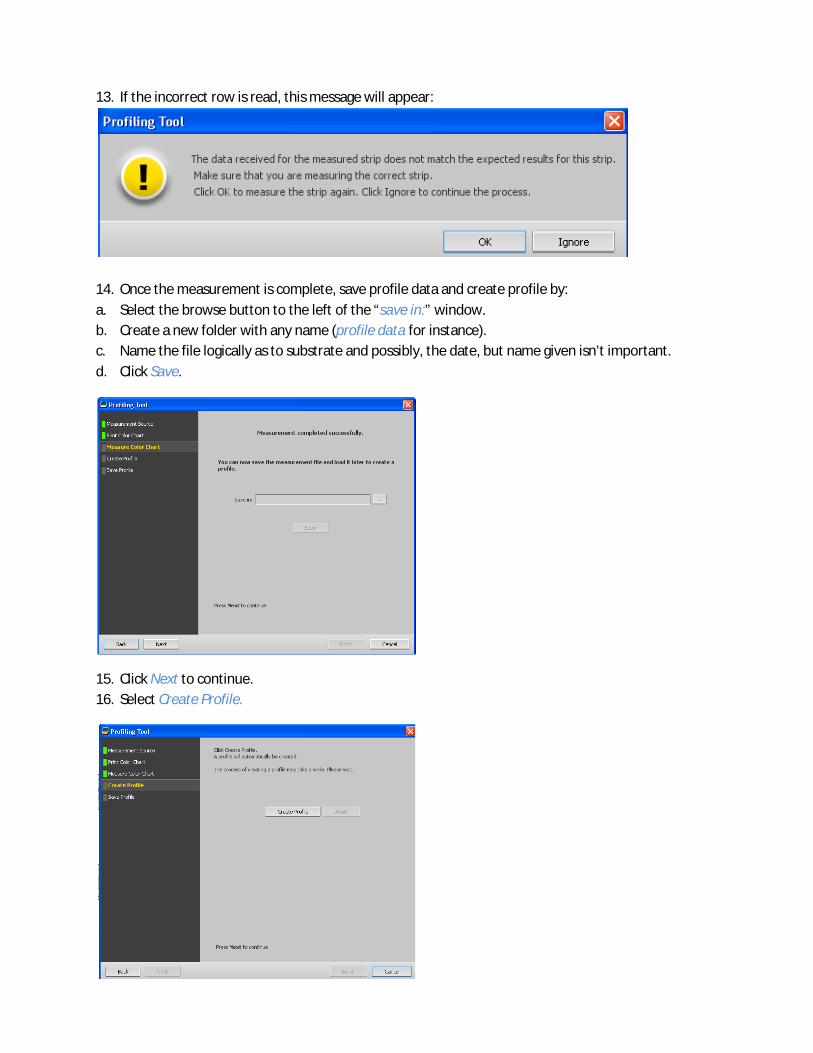
13. If the incorrect row is read, this message will appear:
14. Once the measurement is complete, save profile data and create profile by:a. Select the browse button to the left of the “save in:” window.b. Create a new folder with any name (profile data for instance).c. Name the file logically as to substrate and possibly, the date, but name given isn’t important.d. Click Save.
15. Click Next to continue.16. Select Create Profile.

17. Profile creation begins and will take a few minutes to complete.
18. Once the profile creation is complete, you will be prompted to save the profile. You can use the default name or, if desired, append the end of the name with substrate name, date, etc.
Always choose the Profile Manager option, then select Save.
19. Select OK.
20. Select Finish.
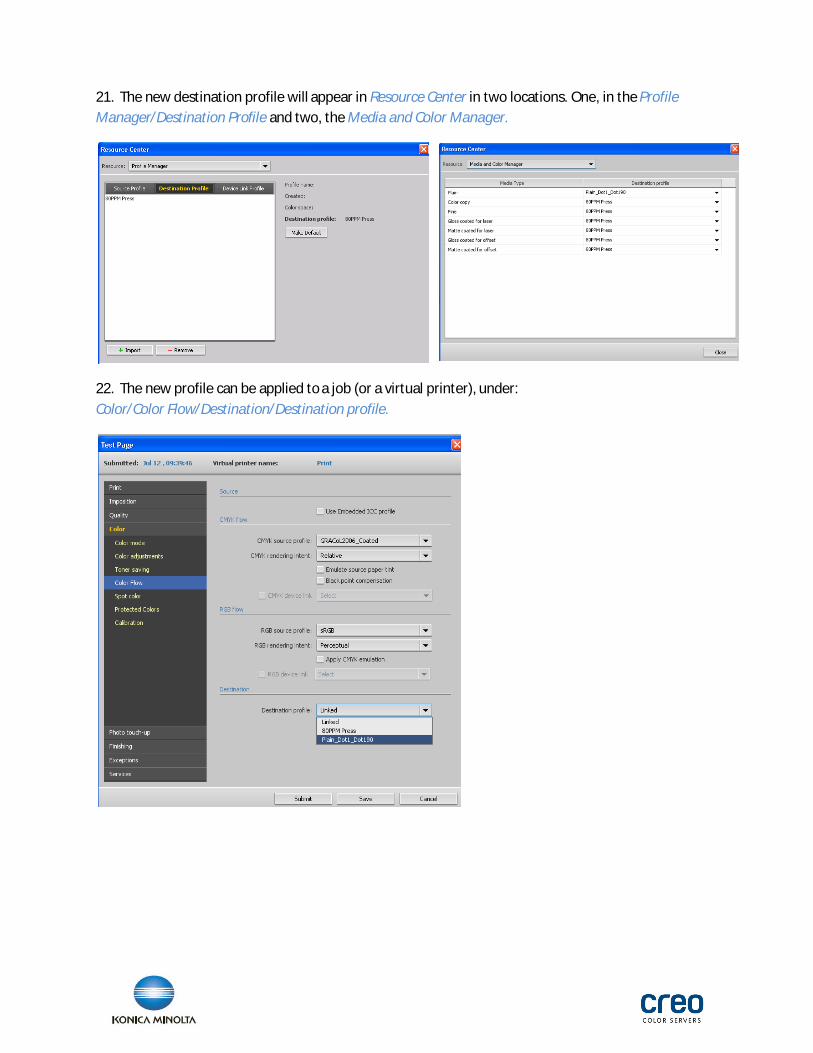
21. The new destination profile will appear in Resource Center in two locations. One, in the Profile Manager/Destination Profile and two, the Media and Color Manager.
22. The new profile can be applied to a job (or a virtual printer), under:Color/Color Flow/Destination/Destination profile.