selenium - rip tutorialcapítulo 10: toma una captura de pantalla de una página web 24 examples 24...
TRANSCRIPT

selenium
#selenium
Tabla de contenido
Acerca de 1
Capítulo 1: Empezando con el selenio 2
Observaciones 2
Versiones 2
Examples 3
Prueba simple de selenio en Java 3
Test simple de selenio en pitón. 4
Configuración de python Selenium a través de terminal (BASH) 4
Ejemplo simple de selenio en C # 5
Capítulo 2: Aceptando alertas emergentes con Selenium 7
Examples 7
Ejemplo de Python de aceptar alerta 7
Extensiones de C # a WebDriver 7
Java 7
Capítulo 3: Automatización de aplicaciones móviles 9
Examples 9
Android + Chrome + Python 9
Python + Chrome + Android 9
Capítulo 4: Empezando con Selenium en python 10
Observaciones 10
Examples 11
Selenio de pitón básico 11
Testcase básico de selenio 11
Capítulo 5: Esperando en el selenio 12
Introducción 12
Examples 12
Espera explícita en Python 12
Espera en Java con selenio. 13
Capítulo 6: Primer proyecto en selenio con Java. 14
Introducción 14
Examples 14
Configuración de la idea de IntelliJ para el selenio 14
Configurando ChromeDriver 16
Apertura de un sitio web utilizando Selenium 17
Obtención de elementos en selenio 17
Ejemplo de trabajo en selenio 17
Obtención de atributos de elementos web en Selenium 18
Capítulo 7: Selenio IDE 19
Examples 19
Pruebe un simple script de Selenium: Busque en Wikipedia en Google 19
Capítulo 8: Selenio simple ejemplo C # y Nunit 21
Observaciones 21
Examples 21
Selenio simple -Unidad 21
Capítulo 9: Selenio simple ejemplo C # y Nunit 23
Examples 23
Prueba de carga de la página simple y asegúrese de que el título de la página es correcto 23
Capítulo 10: Toma una captura de pantalla de una página web 24
Examples 24
Python Selenium tomar / guardar captura de pantalla de la página web 24
Extensión C # TakeScreenshot 24
Captura de pantalla de captura / guardado de Java Selenium de la página web y agregue en e 24
Capítulo 11: WebDriver Factory 26
Examples 26
WebDriver Factory C # 26
Capítulo 12: WebDriverManager para Selenium: una herramienta muy buena de Boni Garcia 28
Introducción 28
Examples 28
Los siguientes ejemplos muestran lo fácil que es usar 28
Creditos 29
Acerca de
You can share this PDF with anyone you feel could benefit from it, downloaded the latest version from: selenium
It is an unofficial and free selenium ebook created for educational purposes. All the content is extracted from Stack Overflow Documentation, which is written by many hardworking individuals at Stack Overflow. It is neither affiliated with Stack Overflow nor official selenium.
The content is released under Creative Commons BY-SA, and the list of contributors to each chapter are provided in the credits section at the end of this book. Images may be copyright of their respective owners unless otherwise specified. All trademarks and registered trademarks are the property of their respective company owners.
Use the content presented in this book at your own risk; it is not guaranteed to be correct nor accurate, please send your feedback and corrections to [email protected]
https://riptutorial.com/es/home 1
Capítulo 1: Empezando con el selenio
Observaciones
Selenium es una poderosa biblioteca de comandos en múltiples idiomas (C #, Haskell, Java, JavaScript, Objective-C, Perl, PHP, Python, R y Ruby) que le permiten al programador automatizar la interacción del navegador. Esto es increíblemente útil para los desarrolladores que prueban aplicaciones.
El selenio ofrece métodos para:
Encuentra un elemento en una página web•Haga clic en un elemento•Enviar una cadena a un elemento•Navegar a una página web•Cambiar a una pestaña diferente en la misma ventana del navegador•Toma una captura de pantalla de una página web•
Usando estos métodos, un desarrollador puede tener pruebas automáticas de verificación:
Si un elemento está en una página y es visible para un usuario•Un formulario de búsqueda o login•Botones o elementos interactivos•Verificar los valores o atributos de un elemento.•
Selenium se ejecuta en webdrivers, que son similares a un navegador web normal pero permiten que Selenium interactúe con ellos. Una prueba de Selenium normalmente abre una nueva instancia de controlador de cualquier navegador que el desarrollador esté probando, lo que siempre es una pizarra limpia. De esta manera, cuando se ejecuta una prueba de Selenium, el desarrollador no tiene que preocuparse por las cookies anteriores, o por un caché del navegador que afecte los resultados de su aplicación.
Selenium también funciona cuando se ejecuta un controlador web en modo sin cabeza.
Versiones
Versión Fecha de lanzamiento
3.4.0 2017-04-11
3.3 2017-04-07
3.2 2017-02-27
3.1 2017-02-13
3.0.1 2016-11-19
https://riptutorial.com/es/home 2
Versión Fecha de lanzamiento
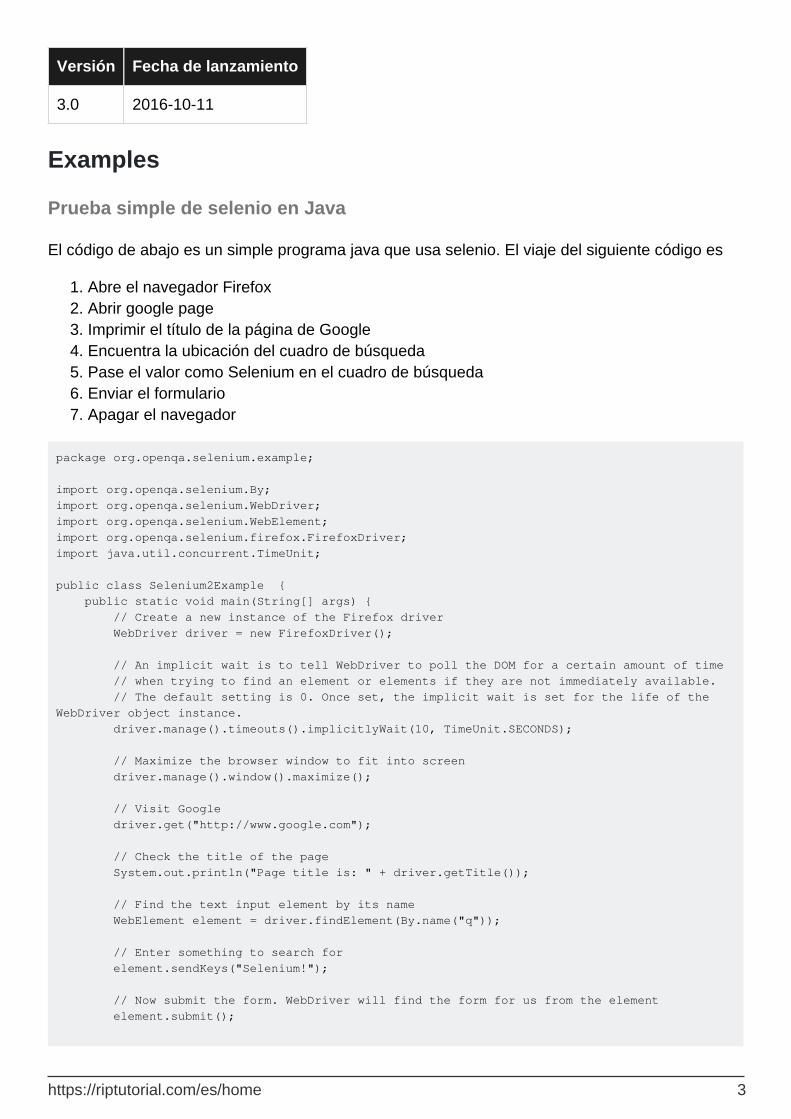
3.0 2016-10-11
Examples
Prueba simple de selenio en Java
El código de abajo es un simple programa java que usa selenio. El viaje del siguiente código es
Abre el navegador Firefox1. Abrir google page2. Imprimir el título de la página de Google3. Encuentra la ubicación del cuadro de búsqueda4. Pase el valor como Selenium en el cuadro de búsqueda5. Enviar el formulario6. Apagar el navegador7.
package org.openqa.selenium.example; import org.openqa.selenium.By; import org.openqa.selenium.WebDriver; import org.openqa.selenium.WebElement; import org.openqa.selenium.firefox.FirefoxDriver; import java.util.concurrent.TimeUnit; public class Selenium2Example { public static void main(String[] args) { // Create a new instance of the Firefox driver WebDriver driver = new FirefoxDriver(); // An implicit wait is to tell WebDriver to poll the DOM for a certain amount of time // when trying to find an element or elements if they are not immediately available. // The default setting is 0. Once set, the implicit wait is set for the life of the WebDriver object instance. driver.manage().timeouts().implicitlyWait(10, TimeUnit.SECONDS); // Maximize the browser window to fit into screen driver.manage().window().maximize(); // Visit Google driver.get("http://www.google.com"); // Check the title of the page System.out.println("Page title is: " + driver.getTitle()); // Find the text input element by its name WebElement element = driver.findElement(By.name("q")); // Enter something to search for element.sendKeys("Selenium!"); // Now submit the form. WebDriver will find the form for us from the element element.submit();
https://riptutorial.com/es/home 3
//Close the browser driver.quit(); } }
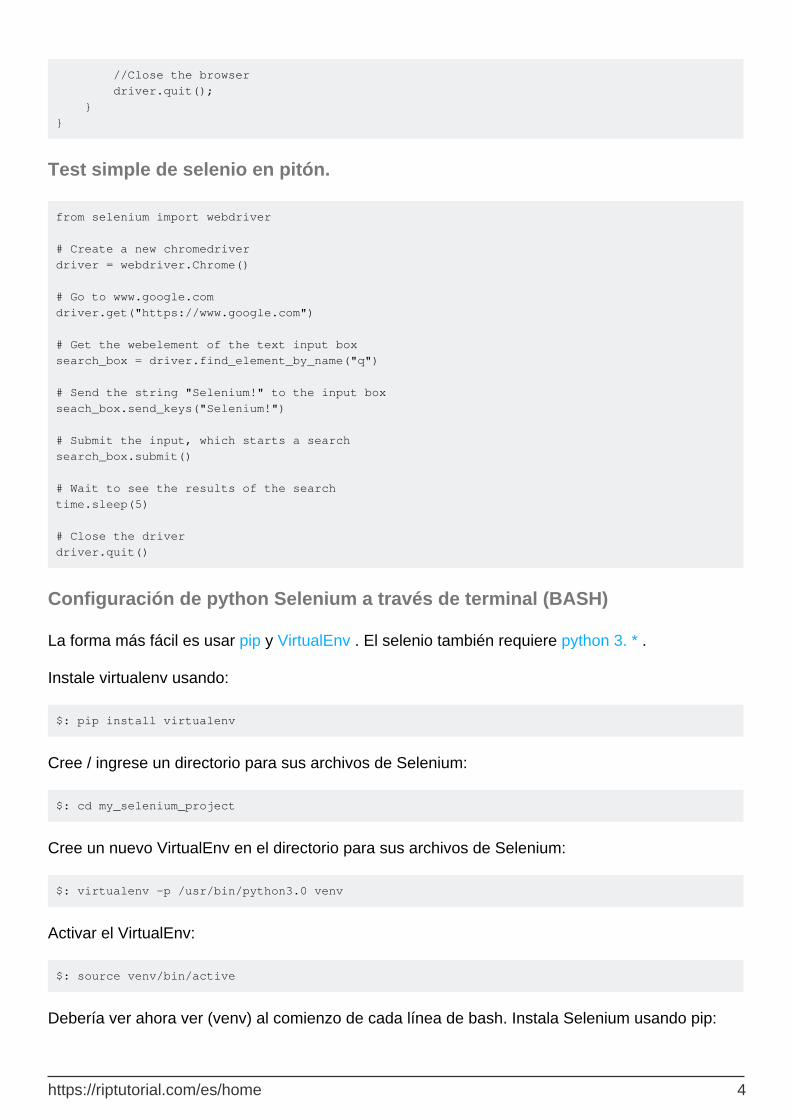
Test simple de selenio en pitón.
from selenium import webdriver # Create a new chromedriver driver = webdriver.Chrome() # Go to www.google.com driver.get("https://www.google.com") # Get the webelement of the text input box search_box = driver.find_element_by_name("q") # Send the string "Selenium!" to the input box seach_box.send_keys("Selenium!") # Submit the input, which starts a search search_box.submit() # Wait to see the results of the search time.sleep(5) # Close the driver driver.quit()
Configuración de python Selenium a través de terminal (BASH)
La forma más fácil es usar pip y VirtualEnv . El selenio también requiere python 3. * .
Instale virtualenv usando:
$: pip install virtualenv
Cree / ingrese un directorio para sus archivos de Selenium:
$: cd my_selenium_project
Cree un nuevo VirtualEnv en el directorio para sus archivos de Selenium:
$: virtualenv -p /usr/bin/python3.0 venv
Activar el VirtualEnv:
$: source venv/bin/active
Debería ver ahora ver (venv) al comienzo de cada línea de bash. Instala Selenium usando pip:
https://riptutorial.com/es/home 4
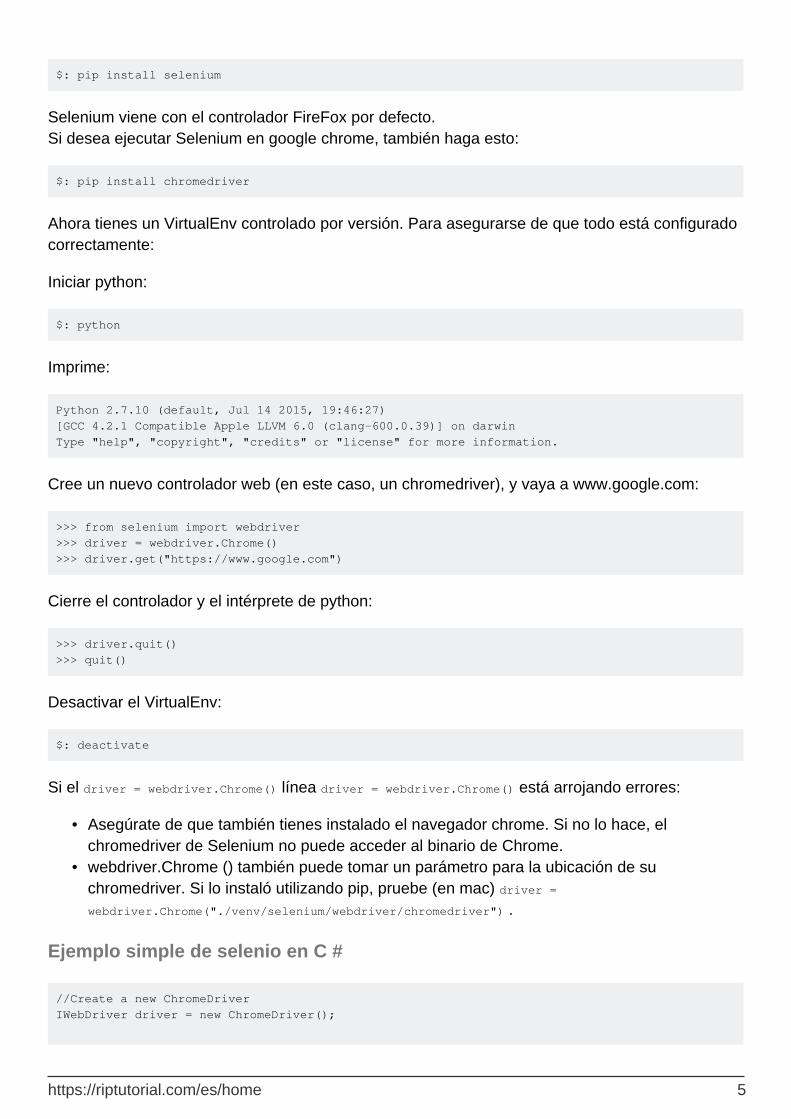
$: pip install selenium
Selenium viene con el controlador FireFox por defecto. Si desea ejecutar Selenium en google chrome, también haga esto:
$: pip install chromedriver
Ahora tienes un VirtualEnv controlado por versión. Para asegurarse de que todo está configurado correctamente:
Iniciar python:
$: python
Imprime:
Python 2.7.10 (default, Jul 14 2015, 19:46:27) [GCC 4.2.1 Compatible Apple LLVM 6.0 (clang-600.0.39)] on darwin Type "help", "copyright", "credits" or "license" for more information.
Cree un nuevo controlador web (en este caso, un chromedriver), y vaya a www.google.com:
>>> from selenium import webdriver >>> driver = webdriver.Chrome() >>> driver.get("https://www.google.com")
Cierre el controlador y el intérprete de python:
>>> driver.quit() >>> quit()
Desactivar el VirtualEnv:
$: deactivate
Si el driver = webdriver.Chrome() línea driver = webdriver.Chrome() está arrojando errores:
Asegúrate de que también tienes instalado el navegador chrome. Si no lo hace, el chromedriver de Selenium no puede acceder al binario de Chrome.
•
webdriver.Chrome () también puede tomar un parámetro para la ubicación de su chromedriver. Si lo instaló utilizando pip, pruebe (en mac) driver = webdriver.Chrome("./venv/selenium/webdriver/chromedriver") .
•
Ejemplo simple de selenio en C #
//Create a new ChromeDriver IWebDriver driver = new ChromeDriver();
https://riptutorial.com/es/home 5
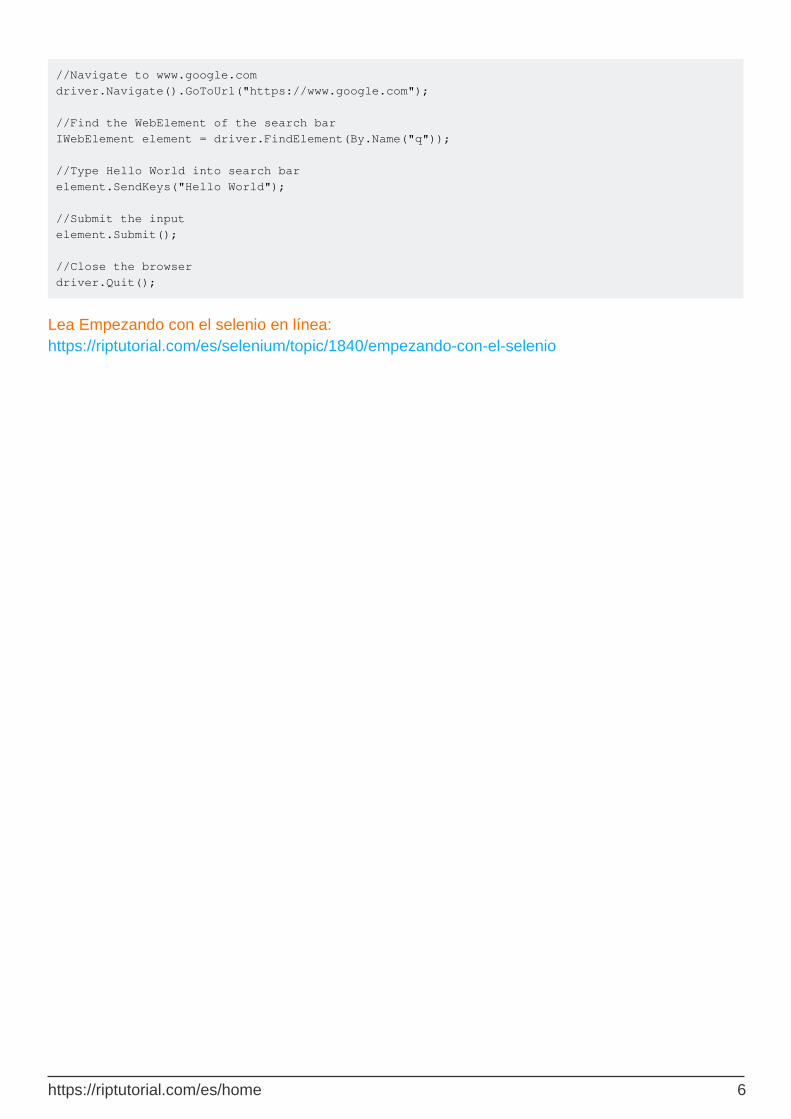
//Navigate to www.google.com driver.Navigate().GoToUrl("https://www.google.com"); //Find the WebElement of the search bar IWebElement element = driver.FindElement(By.Name("q")); //Type Hello World into search bar element.SendKeys("Hello World"); //Submit the input element.Submit(); //Close the browser driver.Quit();
Lea Empezando con el selenio en línea: https://riptutorial.com/es/selenium/topic/1840/empezando-con-el-selenio
https://riptutorial.com/es/home 6
Capítulo 2: Aceptando alertas emergentes con Selenium
Examples
Ejemplo de Python de aceptar alerta
from selenium import webdriver # Create a new webdriver driver = webdriver.Chrome() # Get a page that has a popup window (Use mouse to click "try it" button) driver.get("http://www.w3schools.com/js/tryit.asp?filename=tryjs_alert") # Accept the opened alert driver.switch_to.alert.accept()
Extensiones de C # a WebDriver
public static IWebDriver dismissAlert(this IWebDriver driver) { try { IAlert alert = driver.SwitchTo().Alert(); alert.Dismiss(); } catch {} return driver; } public static IWebDriver acceptAlert(this IWebDriver driver) { try { IAlert alert = driver.SwitchTo().Alert(); alert.Accept(); } catch { } return driver; }
Cómo utilizar:
driver.acceptAlert(); driver.dismissAlert();
Java
Para simple alerta:
Alert simpleAlert = driver.switchTo().alert();
https://riptutorial.com/es/home 7
String alertText = simpleAlert.getText(); System.out.println("Alert text is " + alertText); simpleAlert.accept();
Para alerta rápida:
Alert promptAlert = driver.switchTo().alert(); String alertText = promptAlert.getText(); System.out.println("Alert text is " + alertText); //Send some text to the alert promptAlert.sendKeys("Accepting the alert"); Thread.sleep(4000); //This sleep is not necessary, just for demonstration promptAlert.accept();
Para la alerta de confirmación:
Alert confirmationAlert = driver.switchTo().alert(); String alertText = confirmationAlert.getText(); System.out.println("Alert text is " + alertText); confirmationAlert.accept();
Otra forma en que puedes hacer esto es envolver tu código dentro de un try-catch:
try{ // Your logic here. } catch(UnhandledAlertException e){ Alert alert = driver.switchTo().alert(); alert.accept(); } // Continue.
Lea Aceptando alertas emergentes con Selenium en línea: https://riptutorial.com/es/selenium/topic/6787/aceptando-alertas-emergentes-con-selenium
https://riptutorial.com/es/home 8
Capítulo 3: Automatización de aplicaciones móviles
Examples
Android + Chrome + Python
Para poder ejecutar pruebas, Chrome Broser debe estar preinstalado en un dispositivo Android ,
Python + Chrome + Android
Para poder trabajar con la aplicación web en un dispositivo Android utilizando Selenium , se deben cumplir las condiciones previas siguientes:
Android SDK instalado en la computadora•Navegador Chrome instalado en dispositivo Android•Modo de depuración habilitado en dispositivo Android•
Inicie el servidor adb y chromedriver con los siguientes comandos de cmd / Terminal :
adb start-server chromedriver
Anote el número de puerto del servidor chromedriver del registro que parece
Iniciando ChromeDriver 2.15.322448 (52179c1b310fec1797c81ea9a20326839860b7d3) en el puerto 9515
Conecte el dispositivo Android a la computadora con USB cable USB
A continuación se muestra el código Python simple para obtener la página de Google :
from selenium import webdriver capabilities = { 'chromeOptions': { 'androidPackage': 'com.android.chrome', } } driver = webdriver.Remote('http://localhost:9515', capabilities) # Specify your port number value driver.get('http://google.com') driver.quit()
Lea Automatización de aplicaciones móviles en línea: https://riptutorial.com/es/selenium/topic/9449/automatizacion-de-aplicaciones-moviles
https://riptutorial.com/es/home 9
Capítulo 4: Empezando con Selenium en python
Observaciones
¿Qué es el selenio?
Selenium es una biblioteca de comandos para ayudar a un programador a interactuar con un navegador como un usuario real.
Cosas que hace el selenio:
Encontrar elementos en el html de una página web
Encuentra un solo elemento:
driver.find_element_by_css_selector("css.selector.of.element") ayuda del selector CSS
○
driver.find_element_by_xpath("//xpath//of//element") XPATH ayuda○
driver.find_element_by_name("name_of_element")○
driver.find_element_by_id("id_of_element")○
driver.find_element_by_partial_link_text("element_link_text")○
driver.find_element_by_class_name("class_name_of_element")○
driver.find_element_by_tag_name("tag_name_of_element")○
•
Encuentra una lista de elementos:
driver.find_elements_by_css_selector("css.selector.of.elements")○
driver.find_elements_by_xpath("//xpath//of//elements")○
driver.find_elements_by_name("name_of_elements")○
driver.find_elements_by_partial_link_text("elements_link_text")○
driver.find_elements_by_class_name("class_name_of_elements")○
driver.find_elements_by_tag_name("tag_name_of_elements")○
•
Documentación oficial: selenio-python leer los documentos.•
Interactuar con elementos:
"método" representa cualquiera de los métodos anteriores para encontrar un elemento o lista de elementos.
haga clic en la función:
driver.find_element_by_method.click()○
•
Función send_keys:
driver.find_element_by_method.send_keys("text") envía el texto "String" al elemento encontrado.
○
•
https://riptutorial.com/es/home 10
driver.find_element_by_method.send_keys(KeyCode.UP) envía el KeyCode para la tecla de flecha hacia arriba al elemento encontrado.
○
Examples
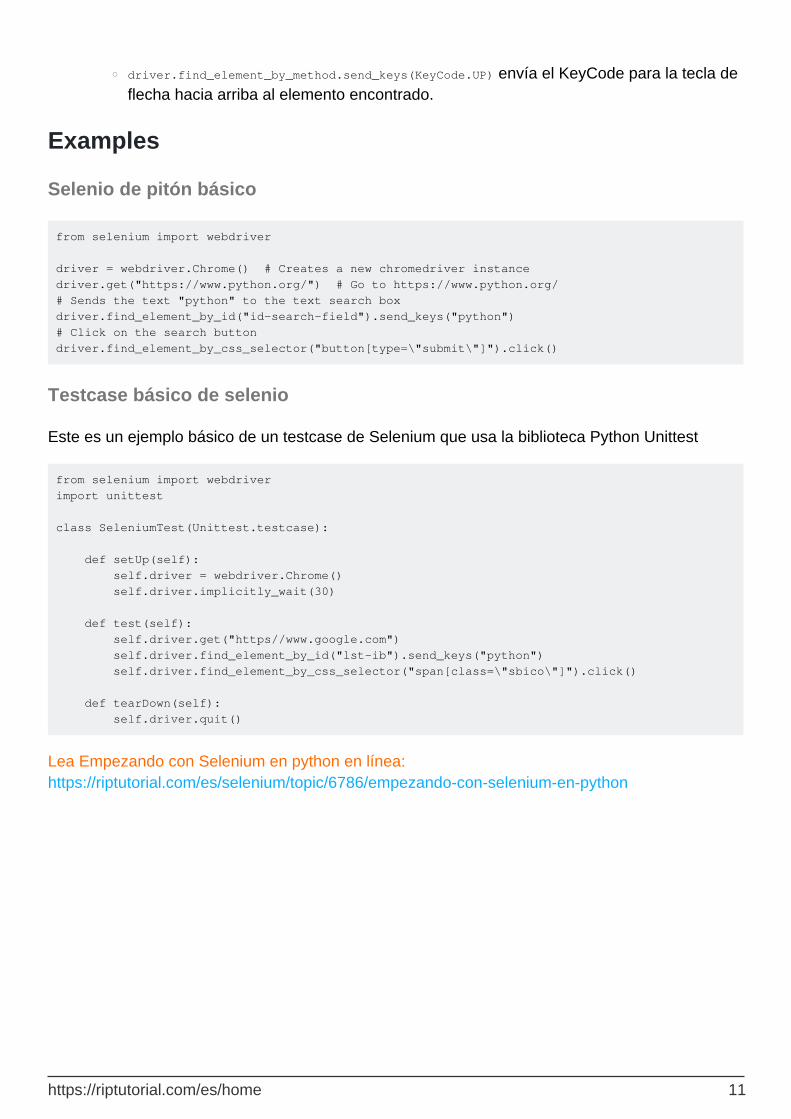
Selenio de pitón básico
from selenium import webdriver driver = webdriver.Chrome() # Creates a new chromedriver instance driver.get("https://www.python.org/") # Go to https://www.python.org/ # Sends the text "python" to the text search box driver.find_element_by_id("id-search-field").send_keys("python") # Click on the search button driver.find_element_by_css_selector("button[type=\"submit\"]").click()
Testcase básico de selenio
Este es un ejemplo básico de un testcase de Selenium que usa la biblioteca Python Unittest
from selenium import webdriver import unittest class SeleniumTest(Unittest.testcase): def setUp(self): self.driver = webdriver.Chrome() self.driver.implicitly_wait(30) def test(self): self.driver.get("https//www.google.com") self.driver.find_element_by_id("lst-ib").send_keys("python") self.driver.find_element_by_css_selector("span[class=\"sbico\"]").click() def tearDown(self): self.driver.quit()
Lea Empezando con Selenium en python en línea: https://riptutorial.com/es/selenium/topic/6786/empezando-con-selenium-en-python
https://riptutorial.com/es/home 11
Capítulo 5: Esperando en el selenio
Introducción
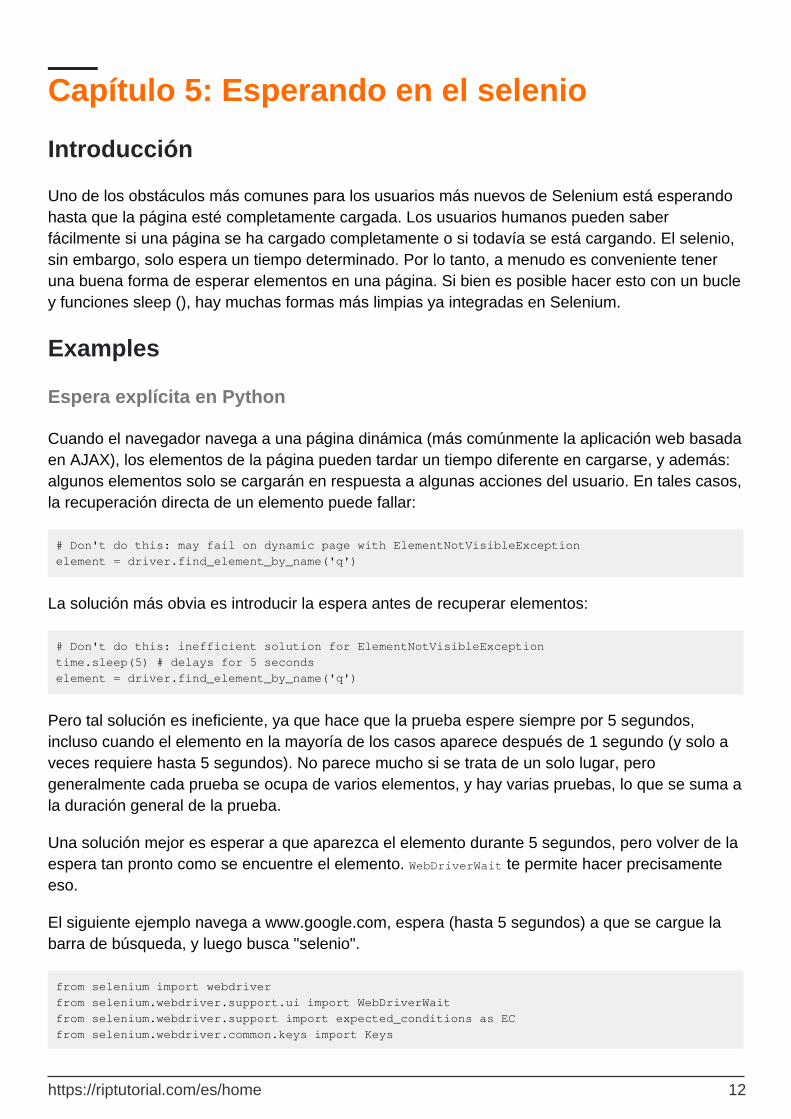
Uno de los obstáculos más comunes para los usuarios más nuevos de Selenium está esperando hasta que la página esté completamente cargada. Los usuarios humanos pueden saber fácilmente si una página se ha cargado completamente o si todavía se está cargando. El selenio, sin embargo, solo espera un tiempo determinado. Por lo tanto, a menudo es conveniente tener una buena forma de esperar elementos en una página. Si bien es posible hacer esto con un bucle y funciones sleep (), hay muchas formas más limpias ya integradas en Selenium.
Examples
Espera explícita en Python
Cuando el navegador navega a una página dinámica (más comúnmente la aplicación web basada en AJAX), los elementos de la página pueden tardar un tiempo diferente en cargarse, y además: algunos elementos solo se cargarán en respuesta a algunas acciones del usuario. En tales casos, la recuperación directa de un elemento puede fallar:
# Don't do this: may fail on dynamic page with ElementNotVisibleException element = driver.find_element_by_name('q')
La solución más obvia es introducir la espera antes de recuperar elementos:
# Don't do this: inefficient solution for ElementNotVisibleException time.sleep(5) # delays for 5 seconds element = driver.find_element_by_name('q')
Pero tal solución es ineficiente, ya que hace que la prueba espere siempre por 5 segundos, incluso cuando el elemento en la mayoría de los casos aparece después de 1 segundo (y solo a veces requiere hasta 5 segundos). No parece mucho si se trata de un solo lugar, pero generalmente cada prueba se ocupa de varios elementos, y hay varias pruebas, lo que se suma a la duración general de la prueba.
Una solución mejor es esperar a que aparezca el elemento durante 5 segundos, pero volver de la espera tan pronto como se encuentre el elemento. WebDriverWait te permite hacer precisamente eso.
El siguiente ejemplo navega a www.google.com, espera (hasta 5 segundos) a que se cargue la barra de búsqueda, y luego busca "selenio".
from selenium import webdriver from selenium.webdriver.support.ui import WebDriverWait from selenium.webdriver.support import expected_conditions as EC from selenium.webdriver.common.keys import Keys
https://riptutorial.com/es/home 12

from selenium.webdriver.common.by import By # Create a new chromedriver instance driver = webdriver.Chrome() # Go to www.google.com driver.get("https://www.google.com") try: # Wait as long as required, or maximum of 5 sec for element to appear # If successful, retrieves the element element = WebDriverWait(driver,5).until( EC.presence_of_element_located((By.NAME, "q"))) # Type "selenium" element.send_keys("selenium") #Type Enter element.send_keys(Keys.ENTER) except TimeoutException: print("Failed to load search bar at www.google.com") finally: driver.quit()
Espera en Java con selenio.
Espera explícita : espere a que ocurra una determinada condición antes de continuar con el código.
WebDriver driver = new FirefoxDriver(); driver.get("http://google.com"); WebElement myElement = (new WebDriverWait(driver, 10)) .until(ExpectedConditions.presenceOfElementLocated(By.id("myElement")));
Espera implícita: espere un cierto tiempo al intentar encontrar un elemento o elementos si no están disponibles de inmediato.
WebDriver driver = new FirefoxDriver(); driver.manage().timeouts().implicitlyWait(10, TimeUnit.SECONDS); driver.get("http://google.com"); WebElement myElement = driver.findElement(By.id("myElement"));
Lea Esperando en el selenio en línea: https://riptutorial.com/es/selenium/topic/6901/esperando-en-el-selenio
https://riptutorial.com/es/home 13
Capítulo 6: Primer proyecto en selenio con Java.
Introducción
Esta es una introducción a Selenium, usando Java. Si bien no esperamos que sepa nada sobre Selenium, debe tener conocimientos previos de Java para seguir este curso.
Descargar enlaces :
Selenio
IntelliJ IDEA
ChromeDriver
JDK 8
Examples
Configuración de la idea de IntelliJ para el selenio
Requisitos previos:
Java está instalado1. Selenium se extrae en una carpeta (contiene 2 archivos y 1 carpeta)2.
Siga estos pasos para configurar IntelliJ Idea para Selenium.
Haga clic en "Nuevo proyecto" .1. Elija la aplicación Java <"Hello World"2. Escriba el nombre del proyecto y créelo.3.
Tu pantalla debería verse algo como esto
https://riptutorial.com/es/home 14
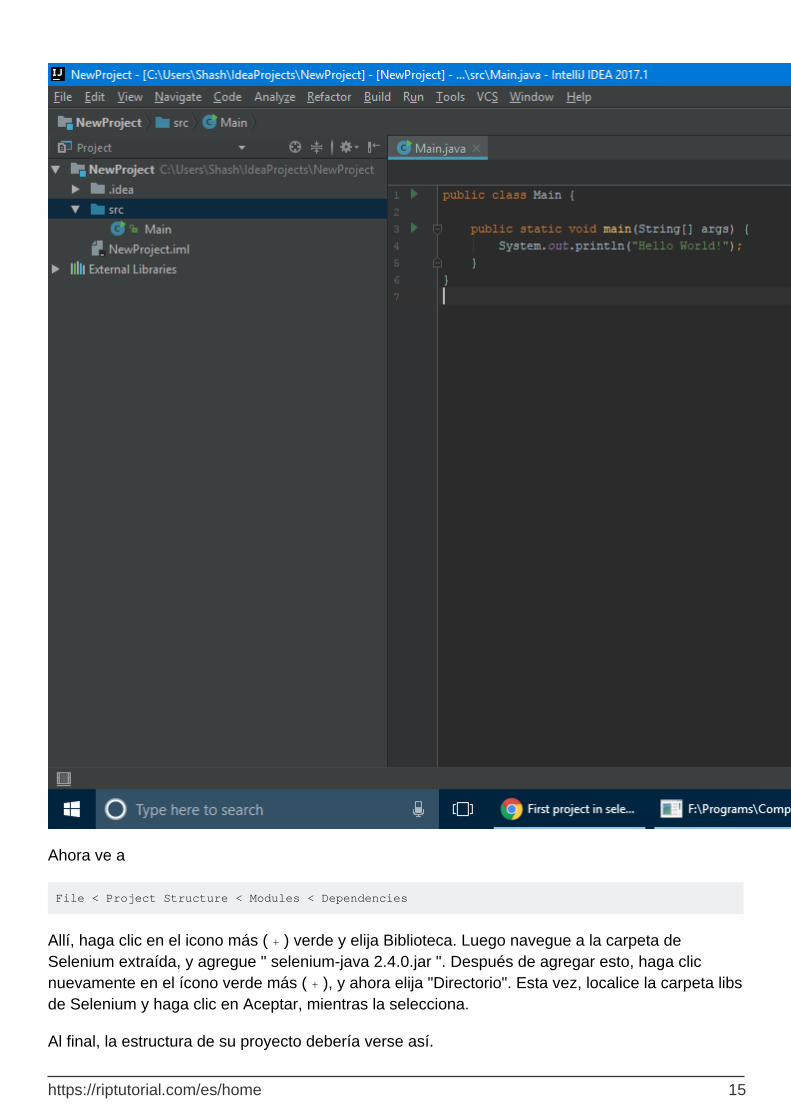
Ahora ve a
File < Project Structure < Modules < Dependencies
Allí, haga clic en el icono más ( + ) verde y elija Biblioteca. Luego navegue a la carpeta de Selenium extraída, y agregue " selenium-java 2.4.0.jar ". Después de agregar esto, haga clic nuevamente en el ícono verde más ( + ), y ahora elija "Directorio". Esta vez, localice la carpeta libs de Selenium y haga clic en Aceptar, mientras la selecciona.
Al final, la estructura de su proyecto debería verse así.
https://riptutorial.com/es/home 15
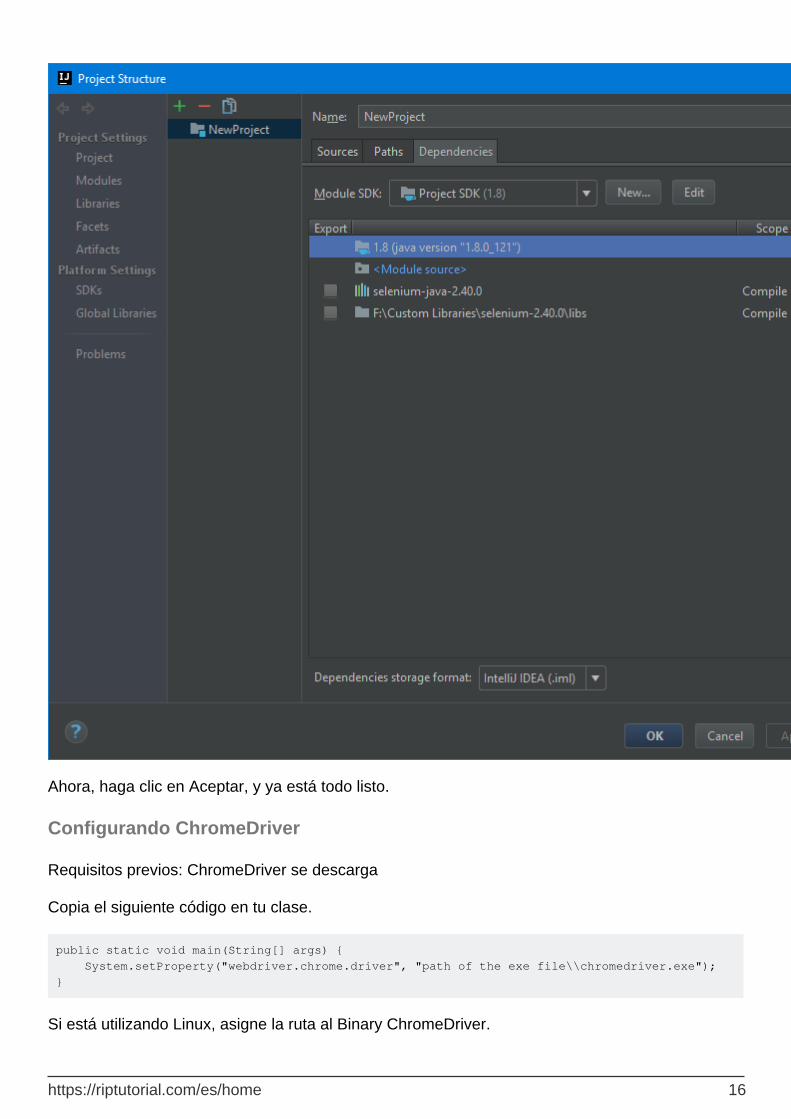
Ahora, haga clic en Aceptar, y ya está todo listo.
Configurando ChromeDriver
Requisitos previos: ChromeDriver se descarga
Copia el siguiente código en tu clase.
public static void main(String[] args) { System.setProperty("webdriver.chrome.driver", "path of the exe file\\chromedriver.exe"); }
Si está utilizando Linux, asigne la ruta al Binary ChromeDriver.
https://riptutorial.com/es/home 16
Apertura de un sitio web utilizando Selenium
Usamos el método get para ir a un sitio web. Por ejemplo, esto abriría google
public static void main(String[] args) throws InterruptedException { System.setProperty("webdriver.chrome.driver", "path of the exe file\\chromedriver.exe"); WebDriver driver = new ChromeDriver(); driver.get("https:www.google.com"); Thread.sleep(3000); //wait for 3 seconds driver.quit(); //close Chrome }
driver.quit() cierra el navegador. Para crear un retraso, usamos Thread.sleep(3000) .
Obtención de elementos en selenio
Cada elemento HTML en Selenium se llama WebElement . Por ejemplo, una etiqueta p sería un WebElement , a etiqueta sería un WebElement , etc. Considere la siguiente estructura html:
<a id="link1" href="https://www.google.com">google</a> <p class="p1"> This is a paragraph </p>
Ahora, si quisiéramos obtener a etiqueta, podríamos hacer
WebElement link = driver.findElement(By.id("link1"));
Ahora, podemos hacer clic en esto, por
link.click();
Veamos otro ejemplo. Si quisiéramos el texto de la etiqueta p , es decir , " Esto es un párrafo ", podemos hacer
WebElement p = driver.findElement(By.className("p1")); System.out.println(p.getText());
También podemos obtener elementos por etiquetas, como
WebElement tag = driver.findElement(By.tagName("a"));
Ejemplo de trabajo en selenio
Ahora que conocemos los conceptos básicos de Selenium, podemos hacer nuestro propio proyecto. Para este ejemplo, crearemos un programa que encuentre las preguntas más recientes sobre el desbordamiento de pila.
Empezamos fácil, dejemos abierto el desbordamiento de pila.
https://riptutorial.com/es/home 17
public static void main(String[] args) throws InterruptedException { System.setProperty("webdriver.chrome.driver", "path of the exe file\\chromedriver.exe"); WebDriver driver = new ChromeDriver(); driver.get("https:stackoverflow.com"); Thread.sleep(3000); driver.quit(); }
Ahora, si nos fijamos en la fuente de la página, se encuentra que todas las preguntas, son a etiquetas, con un className de question-hyperlink . Sin embargo, dado que hay varias preguntas, utilizamos una List de WebElement , en lugar de WebElement . Así, podemos hacer
public static void main(String[] args) throws InterruptedException { System.setProperty("webdriver.chrome.driver", "path to chromedriver\\chromedriver.exe"); WebDriver driver = new ChromeDriver(); driver.get("https:stackoverflow.com"); List<WebElement> list = driver.findElements(By.className("question-hyperlink")); }
Ahora, tenemos que conseguir el href atributo de la a etiqueta, que tiene el enlace de la cuestión. Para hacer esto, podemos usar getAttribute("href") en cada WebElement , como
public static void main(String[] args) throws InterruptedException { System.setProperty("webdriver.chrome.driver", "path to chromedriver\\chromedriver.exe"); WebDriver driver = new ChromeDriver(); driver.get("https:stackoverflow.com"); List<WebElement> list = driver.findElements(By.className("question-hyperlink")); System.out.println(list.size()); list.forEach(e->System.out.println(e.getAttribute("href"))); driver.quit(); }
Esto imprime los enlaces de las preguntas principales sobre desbordamiento de pila.
Obtención de atributos de elementos web en Selenium
Para obtener el atributo de un elemento WebElement , usamos getAttribute en ese elemento WebElement . Por ejemplo, considere la siguiente etiqueta html
<a id="click" href="https://www.google.com">
Podemos encontrar el atributo href del elemento por
WebElement e = driver.findElement(By.id("click")); System.out.println(e.getAttribute("href")); //prints https://www.google.com
Lea Primer proyecto en selenio con Java. en línea: https://riptutorial.com/es/selenium/topic/10012/primer-proyecto-en-selenio-con-java-
https://riptutorial.com/es/home 18
Capítulo 7: Selenio IDE
Examples
Pruebe un simple script de Selenium: Busque en Wikipedia en Google
Requisitos previos:
Instalar Firefox•Instale el complemento IDE de Selenium ( https://addons.mozilla.org/fr/firefox/addon/selenium-ide/)
•
Abre el plugin. Se debe mostrar un botón que muestre un círculo rojo. Si se presiona, significa que puede iniciar su escenario. El complemento está grabando todo lo que haces dentro de esta instancia de Firefox . Haz lo que quieras ser grabado. Al final, guarda tu escenario; te darás cuenta de que los escenarios de Selenium IDE son archivos html. También puede abrir archivos de otros usuarios. Por ejemplo, copie y pegue el siguiente código en un nuevo archivo html e impórtelo a través de su complemento. Podrás ejecutar el escenario -muy simple-.
<?xml version="1.0" encoding="UTF-8"?> <!DOCTYPE html PUBLIC "-//W3C//DTD XHTML 1.0 Strict//EN" "http://www.w3.org/TR/xhtml1/DTD/xhtml1-strict.dtd"> <html xmlns="http://www.w3.org/1999/xhtml" xml:lang="en" lang="en"> <head profile="http://selenium-ide.openqa.org/profiles/test-case"> <meta http-equiv="Content-Type" content="text/html; charset=UTF-8" /> <link rel="selenium.base" href="https://www.google.com/" /> <title>sample-test</title> </head> <body> <table cellpadding="1" cellspacing="1" border="1"> <thead> <tr><td rowspan="1" colspan="3">sample-test</td></tr> </thead><tbody> <tr> <td>open</td> <td>/</td> <td></td> </tr> <tr> <td>type</td> <td>id=lst-ib</td> <td>Wikipedia</td> </tr> </tbody></table> </body> </html>
Este DSL (lenguaje específico del dominio) se denomina comúnmente "selenese".
https://riptutorial.com/es/home 19

Sus funciones más comunes se enumeran aquí .
Lea Selenio IDE en línea: https://riptutorial.com/es/selenium/topic/7694/selenio-ide
https://riptutorial.com/es/home 20
Capítulo 8: Selenio simple ejemplo C # y Nunit
Observaciones
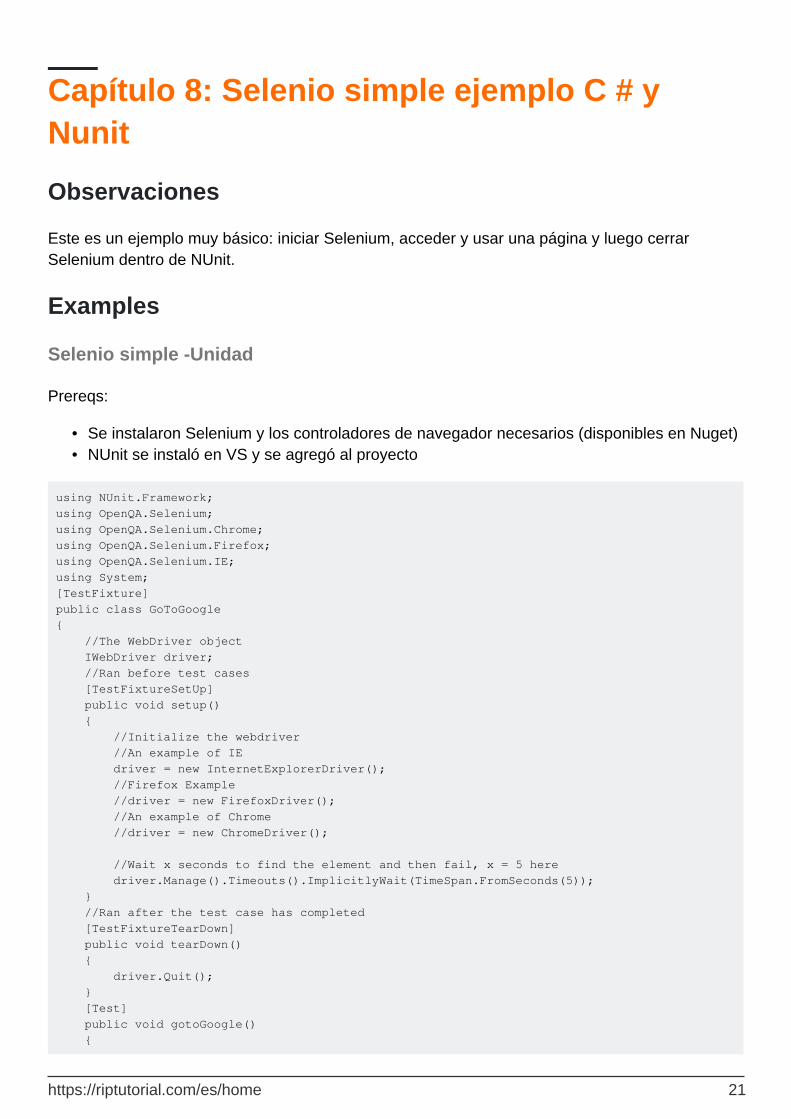
Este es un ejemplo muy básico: iniciar Selenium, acceder y usar una página y luego cerrar Selenium dentro de NUnit.
Examples
Selenio simple -Unidad
Prereqs:
Se instalaron Selenium y los controladores de navegador necesarios (disponibles en Nuget)•NUnit se instaló en VS y se agregó al proyecto•
using NUnit.Framework; using OpenQA.Selenium; using OpenQA.Selenium.Chrome; using OpenQA.Selenium.Firefox; using OpenQA.Selenium.IE; using System; [TestFixture] public class GoToGoogle { //The WebDriver object IWebDriver driver; //Ran before test cases [TestFixtureSetUp] public void setup() { //Initialize the webdriver //An example of IE driver = new InternetExplorerDriver(); //Firefox Example //driver = new FirefoxDriver(); //An example of Chrome //driver = new ChromeDriver(); //Wait x seconds to find the element and then fail, x = 5 here driver.Manage().Timeouts().ImplicitlyWait(TimeSpan.FromSeconds(5)); } //Ran after the test case has completed [TestFixtureTearDown] public void tearDown() { driver.Quit(); } [Test] public void gotoGoogle() {
https://riptutorial.com/es/home 21
//going to google.com driver.Navigate().GoToUrl("www.google.com"); //Assert we are on google.com Assert.AreEqual(driver.Title, "Google"); //Getting the search field IWebElement searchField = driver.FindElement(By.Name("q")); //Typing in the search field searchField.SendKeys("Selenium Tutorial"); //Submitting searchField.Submit(); } }
Lea Selenio simple ejemplo C # y Nunit en línea: https://riptutorial.com/es/selenium/topic/6537/selenio-simple-ejemplo-c-sharp-y-nunit
https://riptutorial.com/es/home 22
Capítulo 9: Selenio simple ejemplo C # y Nunit
Examples
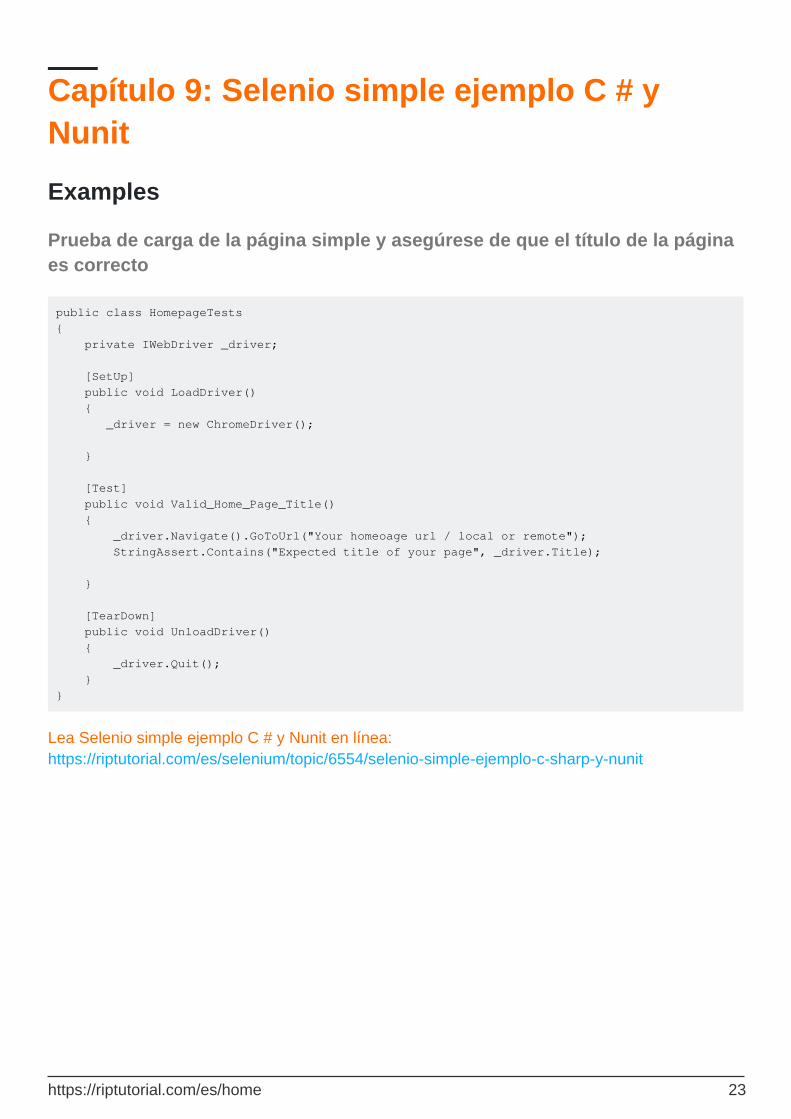
Prueba de carga de la página simple y asegúrese de que el título de la página es correcto
public class HomepageTests { private IWebDriver _driver; [SetUp] public void LoadDriver() { _driver = new ChromeDriver(); } [Test] public void Valid_Home_Page_Title() { _driver.Navigate().GoToUrl("Your homeoage url / local or remote"); StringAssert.Contains("Expected title of your page", _driver.Title); } [TearDown] public void UnloadDriver() { _driver.Quit(); } }
Lea Selenio simple ejemplo C # y Nunit en línea: https://riptutorial.com/es/selenium/topic/6554/selenio-simple-ejemplo-c-sharp-y-nunit
https://riptutorial.com/es/home 23
Capítulo 10: Toma una captura de pantalla de una página web
Examples
Python Selenium tomar / guardar captura de pantalla de la página web
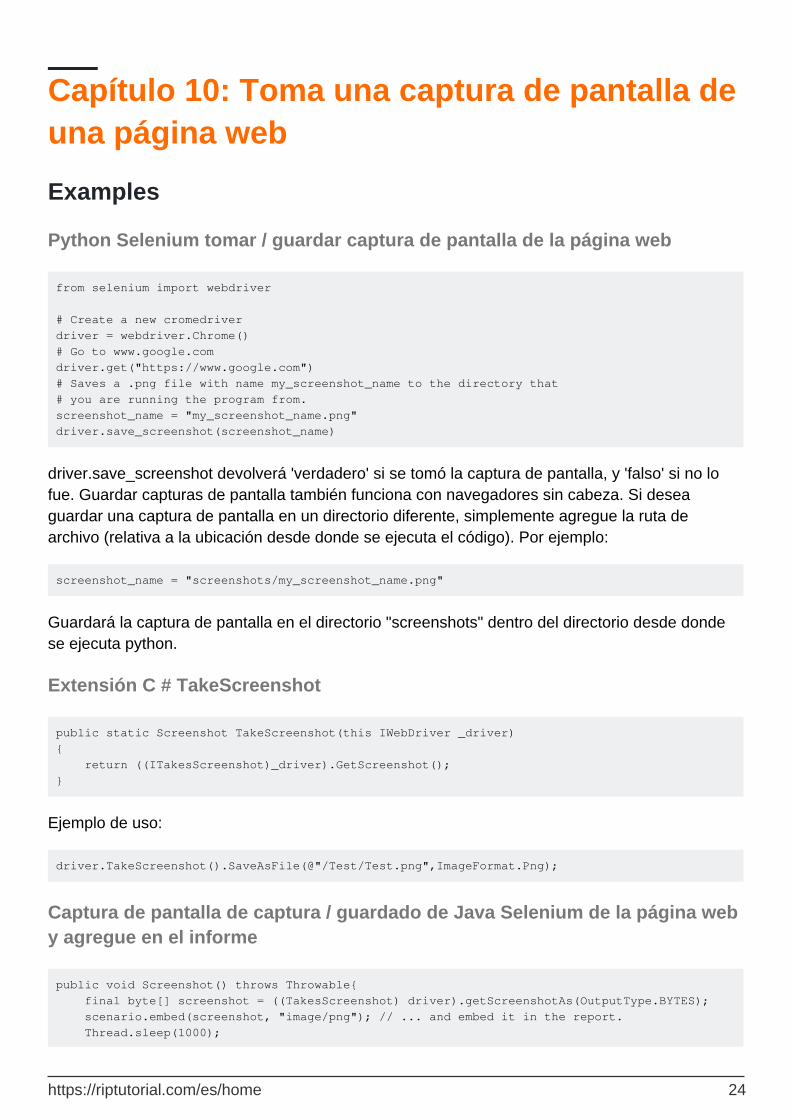
from selenium import webdriver # Create a new cromedriver driver = webdriver.Chrome() # Go to www.google.com driver.get("https://www.google.com") # Saves a .png file with name my_screenshot_name to the directory that # you are running the program from. screenshot_name = "my_screenshot_name.png" driver.save_screenshot(screenshot_name)
driver.save_screenshot devolverá 'verdadero' si se tomó la captura de pantalla, y 'falso' si no lo fue. Guardar capturas de pantalla también funciona con navegadores sin cabeza. Si desea guardar una captura de pantalla en un directorio diferente, simplemente agregue la ruta de archivo (relativa a la ubicación desde donde se ejecuta el código). Por ejemplo:
screenshot_name = "screenshots/my_screenshot_name.png"
Guardará la captura de pantalla en el directorio "screenshots" dentro del directorio desde donde se ejecuta python.
Extensión C # TakeScreenshot
public static Screenshot TakeScreenshot(this IWebDriver _driver) { return ((ITakesScreenshot)_driver).GetScreenshot(); }
Ejemplo de uso:
driver.TakeScreenshot().SaveAsFile(@"/Test/Test.png",ImageFormat.Png);
Captura de pantalla de captura / guardado de Java Selenium de la página web y agregue en el informe
public void Screenshot() throws Throwable{ final byte[] screenshot = ((TakesScreenshot) driver).getScreenshotAs(OutputType.BYTES); scenario.embed(screenshot, "image/png"); // ... and embed it in the report. Thread.sleep(1000);
https://riptutorial.com/es/home 24
}
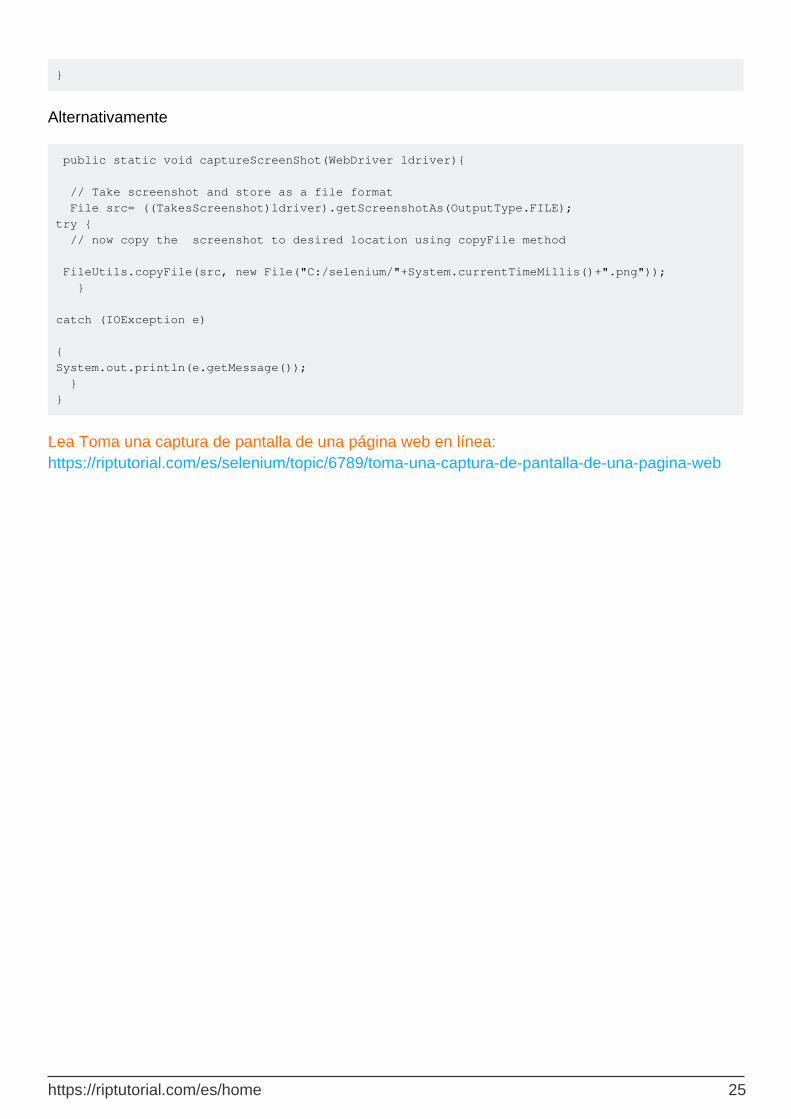
Alternativamente
public static void captureScreenShot(WebDriver ldriver){ // Take screenshot and store as a file format File src= ((TakesScreenshot)ldriver).getScreenshotAs(OutputType.FILE); try { // now copy the screenshot to desired location using copyFile method FileUtils.copyFile(src, new File("C:/selenium/"+System.currentTimeMillis()+".png")); } catch (IOException e) { System.out.println(e.getMessage()); } }
Lea Toma una captura de pantalla de una página web en línea: https://riptutorial.com/es/selenium/topic/6789/toma-una-captura-de-pantalla-de-una-pagina-web
https://riptutorial.com/es/home 25
Capítulo 11: WebDriver Factory
Examples
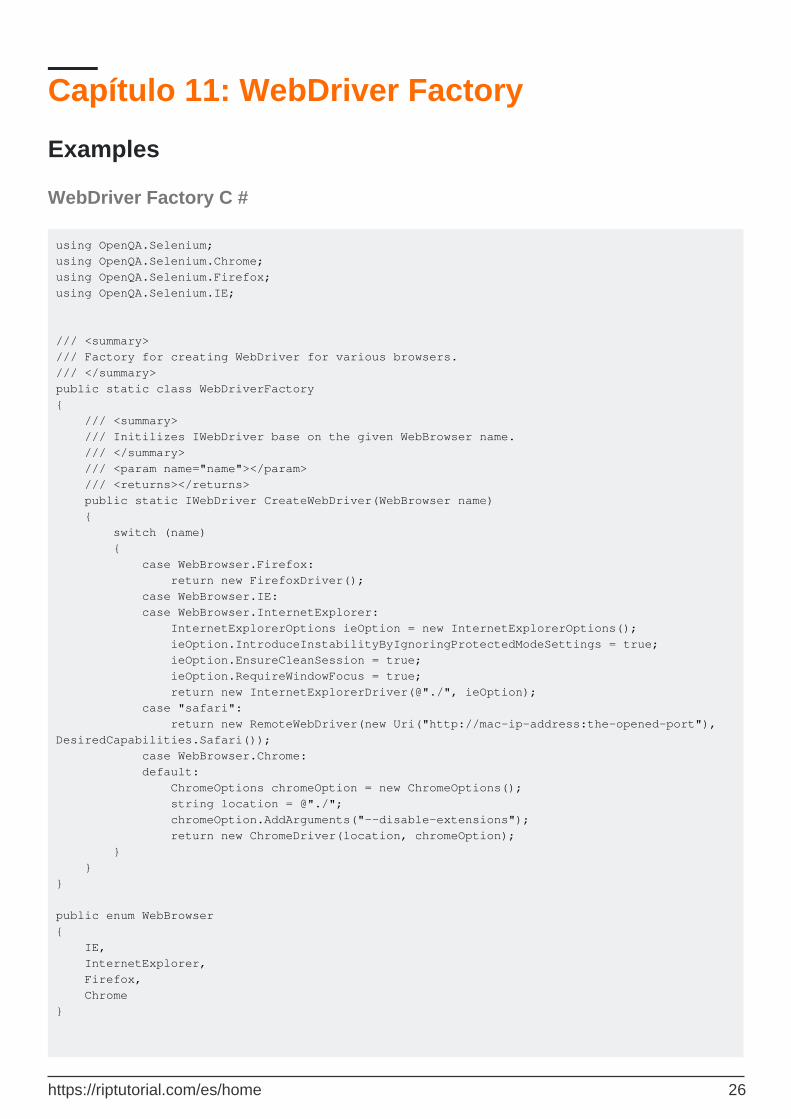
WebDriver Factory C #
using OpenQA.Selenium; using OpenQA.Selenium.Chrome; using OpenQA.Selenium.Firefox; using OpenQA.Selenium.IE; /// <summary> /// Factory for creating WebDriver for various browsers. /// </summary> public static class WebDriverFactory { /// <summary> /// Initilizes IWebDriver base on the given WebBrowser name. /// </summary> /// <param name="name"></param> /// <returns></returns> public static IWebDriver CreateWebDriver(WebBrowser name) { switch (name) { case WebBrowser.Firefox: return new FirefoxDriver(); case WebBrowser.IE: case WebBrowser.InternetExplorer: InternetExplorerOptions ieOption = new InternetExplorerOptions(); ieOption.IntroduceInstabilityByIgnoringProtectedModeSettings = true; ieOption.EnsureCleanSession = true; ieOption.RequireWindowFocus = true; return new InternetExplorerDriver(@"./", ieOption); case "safari": return new RemoteWebDriver(new Uri("http://mac-ip-address:the-opened-port"), DesiredCapabilities.Safari()); case WebBrowser.Chrome: default: ChromeOptions chromeOption = new ChromeOptions(); string location = @"./"; chromeOption.AddArguments("--disable-extensions"); return new ChromeDriver(location, chromeOption); } } } public enum WebBrowser { IE, InternetExplorer, Firefox, Chrome }
https://riptutorial.com/es/home 26

// Usage var driver = WebDriverFactory.CreateWebDriver(WebBrowser.Chrome);
Lea WebDriver Factory en línea: https://riptutorial.com/es/selenium/topic/7727/webdriver-factory
https://riptutorial.com/es/home 27
Capítulo 12: WebDriverManager para Selenium: una herramienta muy buena de Boni Garcia
Introducción
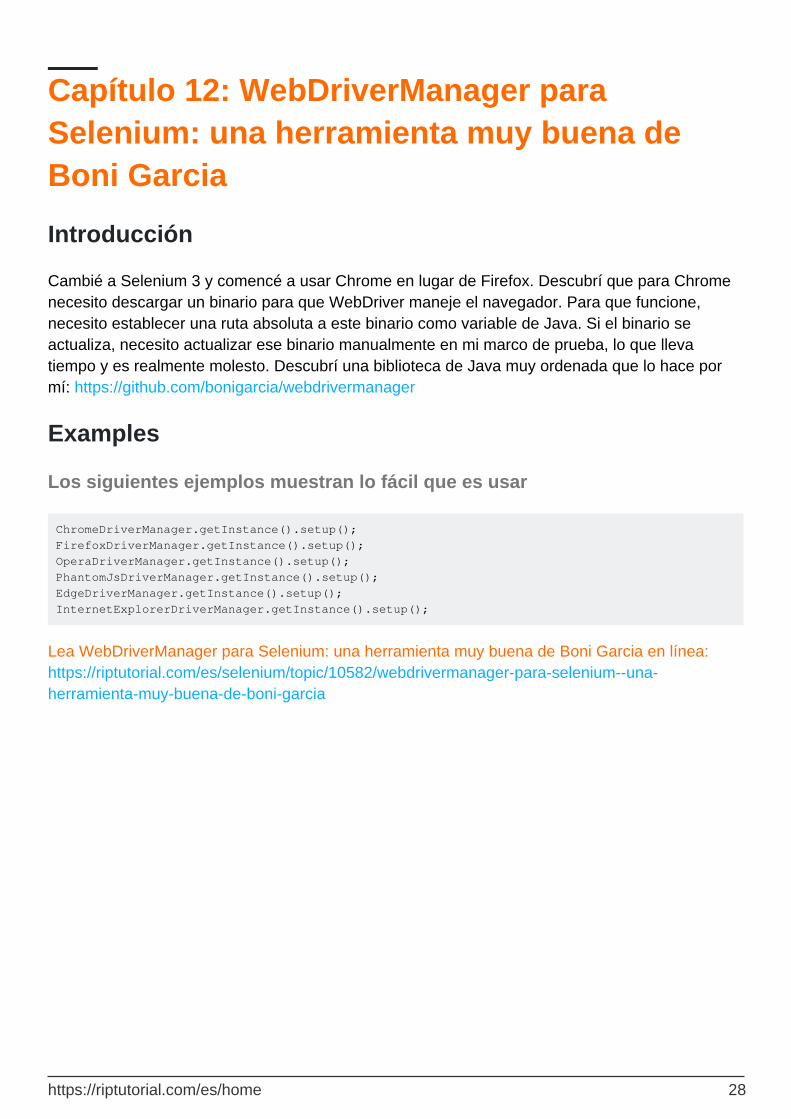
Cambié a Selenium 3 y comencé a usar Chrome en lugar de Firefox. Descubrí que para Chrome necesito descargar un binario para que WebDriver maneje el navegador. Para que funcione, necesito establecer una ruta absoluta a este binario como variable de Java. Si el binario se actualiza, necesito actualizar ese binario manualmente en mi marco de prueba, lo que lleva tiempo y es realmente molesto. Descubrí una biblioteca de Java muy ordenada que lo hace por mí: https://github.com/bonigarcia/webdrivermanager
Examples
Los siguientes ejemplos muestran lo fácil que es usar
ChromeDriverManager.getInstance().setup(); FirefoxDriverManager.getInstance().setup(); OperaDriverManager.getInstance().setup(); PhantomJsDriverManager.getInstance().setup(); EdgeDriverManager.getInstance().setup(); InternetExplorerDriverManager.getInstance().setup();
Lea WebDriverManager para Selenium: una herramienta muy buena de Boni Garcia en línea: https://riptutorial.com/es/selenium/topic/10582/webdrivermanager-para-selenium--una-herramienta-muy-buena-de-boni-garcia
https://riptutorial.com/es/home 28
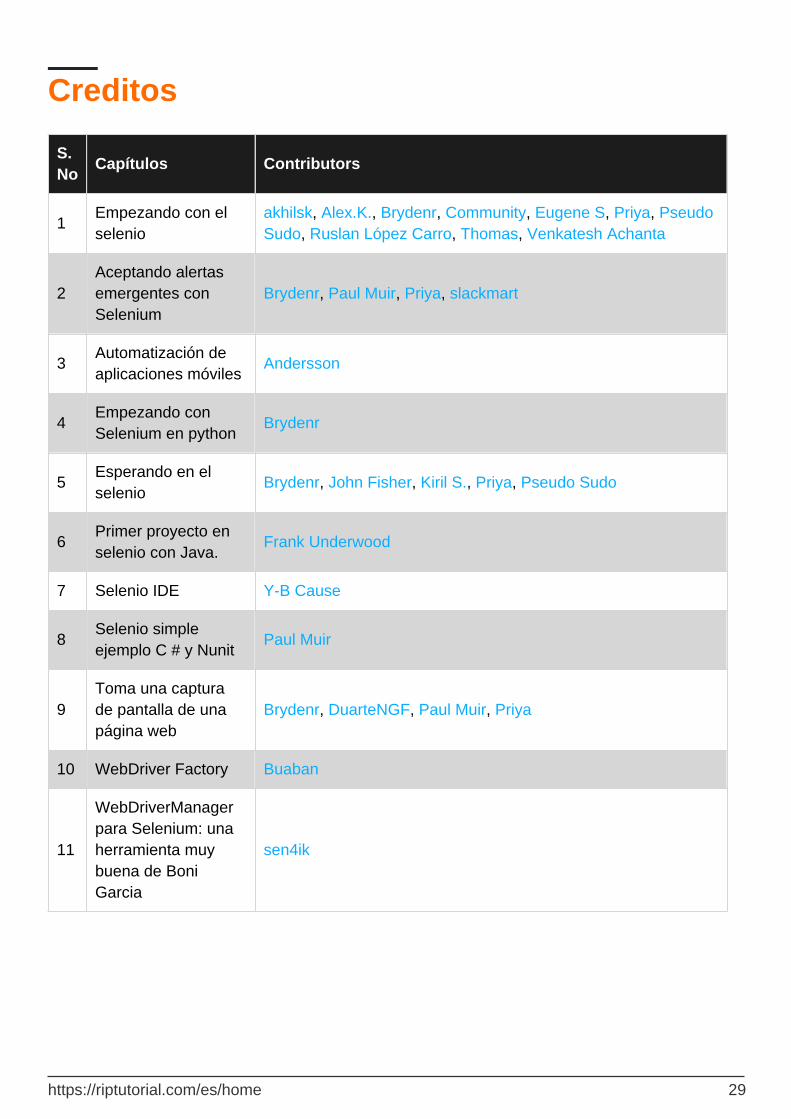
Creditos
S. No
Capítulos Contributors
1Empezando con el selenio
akhilsk, Alex.K., Brydenr, Community, Eugene S, Priya, Pseudo Sudo, Ruslan López Carro, Thomas, Venkatesh Achanta
2Aceptando alertas emergentes con Selenium
Brydenr, Paul Muir, Priya, slackmart
3Automatización de aplicaciones móviles
Andersson
4Empezando con Selenium en python
Brydenr
5Esperando en el selenio
Brydenr, John Fisher, Kiril S., Priya, Pseudo Sudo
6Primer proyecto en selenio con Java.
Frank Underwood
7 Selenio IDE Y-B Cause
8Selenio simple ejemplo C # y Nunit
Paul Muir
9Toma una captura de pantalla de una página web
Brydenr, DuarteNGF, Paul Muir, Priya
10 WebDriver Factory Buaban
11
WebDriverManager para Selenium: una herramienta muy buena de Boni Garcia
sen4ik
https://riptutorial.com/es/home 29